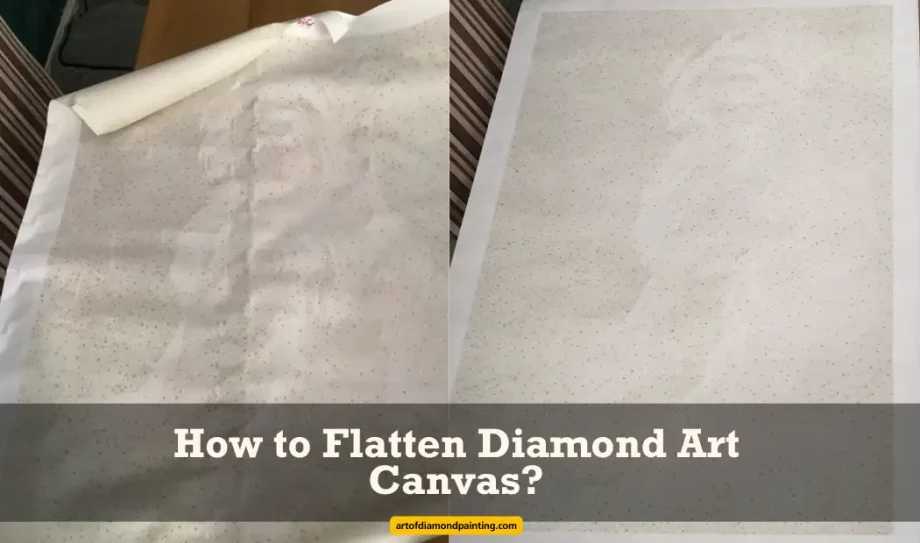
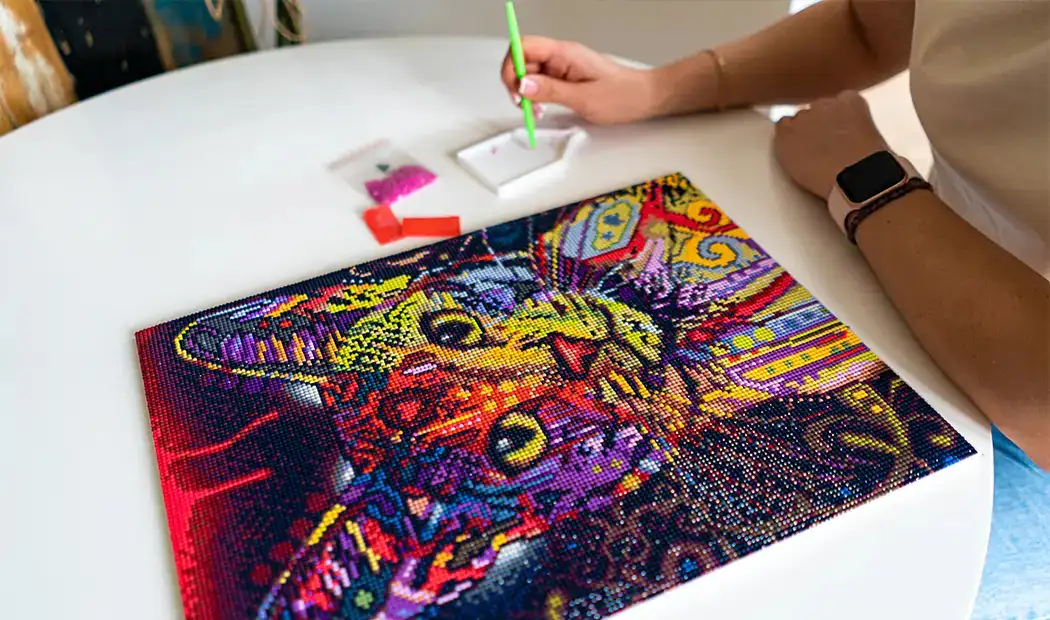
Opening a diamond painting kit feels like unwrapping a treasure, but then your canvas curls like a stubborn snake. Every crafter has experienced this moment. The rolls, bumps, and tiny wrinkles make even the most excited artist pause. No one wants to start a masterpiece on a canvas that fights back. Learning how to flatten diamond art canvas is essential if you want smooth, perfect artwork. It is not just about pressing it down; it is about understanding fabric, glue, temperature, and patience.
This guide dives deep into all the methods, tricks, and science behind flattening your canvas safely. By the end, you will know how to get wrinkles out of diamond painting canvas like a pro while keeping every drill intact. You will also discover creative tips that stay flawless when your canvas is perfectly flat.
Why Do Diamond Paintings Curl?

Diamond paintings curl for multiple reasons, and understanding each factor is essential for proper flattening and long-lasting results. Curling is a common issue for crafters and can interfere with drill placement, the final appearance, and even the adhesive’s performance. Recognizing the causes allows you to choose the best methods to maintain a smooth canvas.
1. Shipping and Rolling: Most diamond painting canvases arrive tightly rolled in cardboard tubes to prevent damage during transit. While this protects the design, rolling compresses the fabric and adhesive layer, creating deep curls that can persist for days or even weeks if not addressed immediately. Rolled canvases may also develop uneven edges, making it difficult to work on corners without flattening first. This is the most common cause of curling, and it is particularly noticeable in larger canvases, where weight and tension exaggerate the effect.
2. Folding During Transport: Some suppliers may fold smaller canvases to save space in packaging. Folding creates sharp creases along the folded line that are extremely difficult to remove. Unlike rolling, which can be reversed with gentle weight or mild heat, folded lines often require ironing or repeated flattening attempts. These creases can permanently distort intricate designs, such as detailed animal faces or complex neon patterns, making it harder to achieve a professional-looking finish.
3. Temperature and Humidity: Environmental conditions play a crucial role in curling. Cold environments cause the adhesive to stiffen, locking the fabric in a curved position. This can happen during shipping, storage, or even inside a cold room at home. Conversely, high humidity softens some sections unevenly, causing parts of the canvas to warp or swell. Temperature fluctuations can also create localized curls at edges or corners. Understanding the canvas’s material and keeping it in a controlled environment helps minimize these effects.
4. Glue Type: The type of adhesive used on your canvas significantly impacts curling. Poured glue remains slightly flexible, allowing the fabric to relax naturally over time. This type is more forgiving and easier to flatten without applying heat. On the other hand, double-sided adhesive stiffens quickly, which can exaggerate curling during shipping, storage, or even while drilling. Knowing the glue type informs your approach to flattening techniques, such as ironing, weight application, or reverse rolling. You can learn all about how to use glue for diamond painting.
5. Storage and Handling: Improper storage or careless handling contributes to long-term curling. Stacking heavy objects on top of a canvas, folding it, or even placing it under pressure from furniture or bags can permanently bend the edges. Over time, repeated pressure worsens creases and makes the canvas harder to flatten. Consistent and careful storage practices, like placing canvases flat under lightweight boards or in folders, prevent new wrinkles from forming. Keep an additional toolkit for diamond painting.
6. Canvas Material: The material of your canvas also affects curling. Cotton canvases expand slightly when exposed to warmth, making some wrinkles easier to flatten. Synthetic fabrics, however, soften quickly under heat, requiring more controlled methods to avoid adhesive damage. Knowing your canvas material helps select the safest and most effective flattening method, whether it is weight, ironing, or a combination approach. Choosing high-quality canvas from the start reduces curling and improves the longevity of your diamond painting.
How Do You Prevent Curling During Drilling?
Preventing curling during drilling is essential to protect your diamond painting canvas and ensure smooth, precise placement of drills. Curling not only makes the work harder but can also distort your design. Understanding preventive techniques allows you to work efficiently while keeping your canvas in top condition.
- Flat, Stable Surface:
The first and most important step is to work on a completely flat and stable surface. Uneven tables or desks can bend the canvas as you press drills onto it, creating new wrinkles that may be difficult to remove later. A smooth surface ensures that each drill is applied evenly, maintains alignment, and prevents adhesive disruption. Large canvases especially benefit from wide, supportive tables. For pop pet art designs, a flat surface preserves the integrity of fine details and keeps colors vibrant. - Segmenting the Canvas:
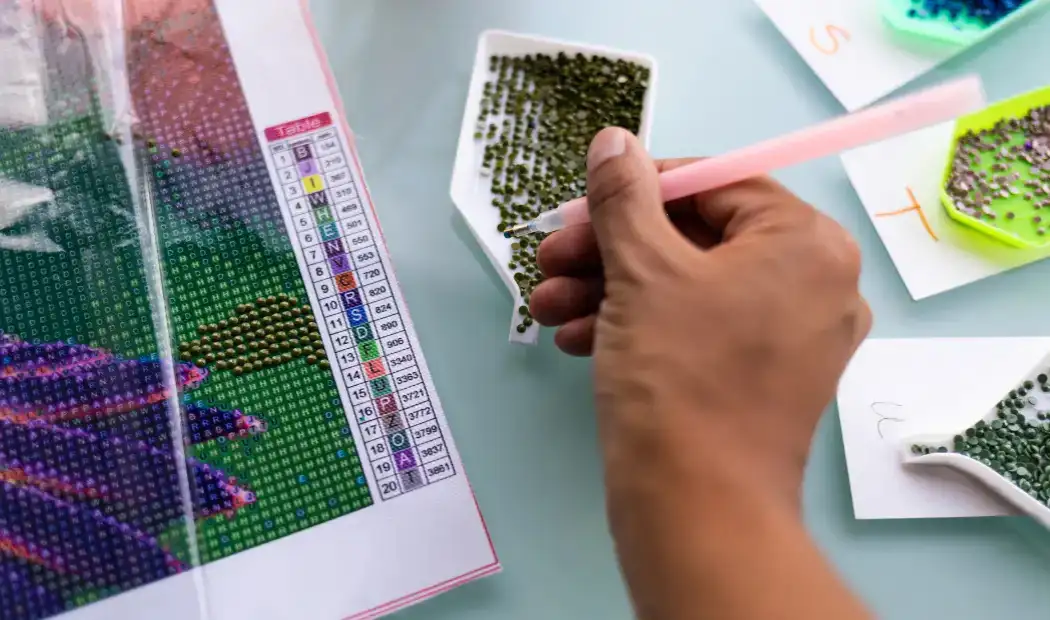
Working on small sections of your canvas at a time helps reduce stress on the material and prevents curling. Instead of peeling off the protective sheet for the entire painting, expose only the section you are working on. This keeps the remaining canvas lightly rolled or covered, reducing exposure to air and accidental bending. Segmenting your work also helps maintain focus and reduces mistakes, making your diamond painting more enjoyable and precise. - Gentle Handling:
Handling the canvas carefully during drilling is crucial. Avoid folding, rolling, or bending any portion while placing drills. Even small creases can disrupt adhesive and create permanent wrinkles. Steady hands and slow, deliberate placement prevent accidental pressure points that cause curling. For delicate pop pet designs, careful handling ensures that detailed animal features stay perfectly aligned. - Edge Monitoring:
Edges are particularly vulnerable to curling, especially on larger canvases. Regularly check corners and sides while working. If any part starts to lift, apply gentle weight using light objects such as books, foam boards, or flat clips. This keeps edges pressed down and prevents further curling during drilling. Monitoring the canvas edges also ensures a consistent surface for drill placement, maintaining the crispness of your design. - Air Bubble Management:
Lifting protective sheets improperly can trap air bubbles under the adhesive, causing raised areas that mimic curling. Always lift sheets carefully and smooth from the center outward. This removes trapped air without disturbing the adhesive or drills. Managing air bubbles is particularly important for detailed designs where uneven surfaces can misalign drills and reduce the sparkle effect.
How to Maintain a Flat Canvas Throughout?
Maintaining a flat diamond painting canvas throughout your crafting process ensures smooth drill placement, prevents curling, and keeps your artwork looking professional. A consistently flat surface is especially important for detailed designs where even small wrinkles can misalign drills or distort visual effects. Proper handling, storage, and workspace setup all play key roles in long-term canvas maintenance.
Controlled Environment: The first step to maintaining a flat canvas is creating a stable workspace environment. Keep your room at a moderate temperature and avoid high humidity levels. Direct sunlight, heaters, or air vents can soften or stiffen adhesive unevenly, which causes edges to warp or develop small curls over time. A controlled environment also protects your canvas from accidental thermal damage during long crafting sessions.
Long-Term Storage: Proper storage is essential to prevent curling when you are not working on your diamond painting. Always store your canvas flat using folders, foam boards, or shallow drawers that provide support across the entire surface. Avoid stacking heavy objects on top of the canvas, as weight can permanently bend edges or create creases. Flat storage is particularly important for large canvases or designs with multiple colors and fine details.
Regular Pressure Checks: Some stubborn areas may still curl slightly despite careful storage. Applying gentle, even weight periodically can help relax the canvas fibers and maintain flatness. Objects like books, trays, or lightweight boards can be placed on sections for a few hours to gradually flatten creases. Repeat this process as needed for corners or edges that start to lift. Regular pressure checks prevent curling from becoming permanent, ensuring the adhesive remains stable and drill placement stays accurate.
Handling with Care: Proper handling is another key factor in keeping your canvas flat. Always lift your diamond painting by the edges, and avoid bending, folding, or rolling any part during work or storage. Even a small fold in a corner can create a permanent crease that affects the entire section. Gentle handling is particularly important, as warped areas distort reflections and reduce the overall visual impact. Maintaining flatness throughout your work ensures your final piece looks polished, professional, and ready for display.
Is Ironing Diamond Painting Possible?
Ironing a diamond painting canvas is possible but requires extreme care to avoid damaging your artwork. Many crafters wonder, “can you iron diamond painting canvas?” and the answer is yes—but only if you follow specific safety steps. Ironing is usually reserved for stubborn wrinkles that do not respond to flattening with weight, gentle rolling, or controlled storage.
- Low Heat Only:
When ironing a diamond painting canvas, always set your iron to the lowest heat setting. High heat can melt the adhesive layer, distort drill alignment, or even damage the drills themselves. Low temperature ensures that the glue softens just enough to relax the fabric fibers without compromising the adhesive’s stickiness. Patience is key; move slowly and gradually across the canvas to avoid overheating any section. - Protective Barrier:
Never place the iron directly on the canvas. A thin protective cloth, such as a cotton sheet or pressing cloth, should always be between the iron and the painting. This barrier protects both the glue and the drills from direct heat, preventing accidental melting or discoloration. For canvases with glitter or neon accents, the protective layer also prevents scratches or marks that could ruin the reflective effect. - Slow, Even Movements:
Glide the iron gently across the canvas, keeping it moving at all times. Avoid pressing in one spot, as concentrated heat can warp the adhesive and create permanent indentations. Slow, even movements allow the canvas to relax gradually, minimizing curling without stressing the material. Continuous ironing maintains alignment across all intricate details, ensuring that the final piece reflects light evenly. - Material Consideration:
The type of canvas affects how ironing should be approached. Cotton canvases expand slightly with heat, so they may require careful monitoring to avoid over-stretching. Synthetic canvases soften very quickly, making them prone to bubbling or warping if the iron is too hot or applied for too long. Always test a small, inconspicuous section first to understand how your canvas responds before proceeding with the entire painting. - Combine With Other Methods:
Ironing alone is rarely sufficient for extreme wrinkles. Combining it with other techniques, such as applying gentle weight, reverse rolling, or flattening under books, increases effectiveness. Ironing should be seen as a finishing method rather than a standalone solution. Using multiple methods ensures your canvas is perfectly flat and ready for precise drill placement, creating a smooth, professional finish.
How to Choose Canvas to Avoid This Problem?
Choosing the right diamond painting canvas is one of the most important steps to prevent curling and make flattening easier. A well-selected canvas saves time, reduces frustration, and ensures your final artwork remains smooth, shiny, and perfectly aligned. This is especially crucial where curling can distort tiny details or misalign drills. Understanding material quality, adhesive type, canvas size, and pre-inspection techniques can make a major difference for both beginners and experienced crafters.
1. Material Quality:
High-quality, thick, and sturdy canvases resist curling better than thin, flimsy materials. Cotton and mixed-fiber canvases are often stronger and expand slightly when exposed to heat, making them easier to flatten. Synthetic canvases, while lightweight, may soften quickly and require extra care. Canvases with poured glue are generally more flexible, allowing for gentle flattening without damaging the adhesive. Investing in a good canvas reduces curling problems before they even start, saving you time and effort during drilling.
2. Adhesive Type:
The type of adhesive on your canvas affects curling during shipping and drilling. Double-sided adhesives tend to stiffen faster, which can exaggerate curling and make flattening more difficult. In contrast, poured glue remains slightly soft and flexible, making it easier to relax the canvas with weight, rolling, or careful ironing. Choosing canvases with poured glue is particularly advantageous for large or intricate designs because it helps maintain the alignment of drills and prevents adhesive cracks during flattening.
4. Size Consideration:
Canvas size matters significantly when preventing curling. Larger canvases are more prone to curling due to their weight and surface area. They require additional support during shipping, storage, and drilling to stay flat. Using boards, folders, or foam inserts helps maintain flatness. Smaller canvases, by contrast, are naturally less prone to curling and easier to manage on a flat surface. Choosing the right size canvas for your skill level and workspace can make the flattening process faster and less stressful, especially for detailed, high-precision designs.
5. Pre-Inspection:
Before purchasing a canvas, always check for visible wrinkles, creases, or folds. Minor defects can worsen during shipping or drilling, making flattening much more difficult. Inspecting the canvas allows you to address problems early with gentle rolling, weight, or ironing techniques. A clean, defect-free canvas ensures vibrant colors, crisp lines, and smooth drill placement, enhancing the overall visual impact of your artwork.
What Are the Best and Safest Methods to Flatten Wrinkled Canvas?
Flattening a diamond painting canvas effectively requires a combination of safe techniques that protect both the adhesive and the drills while ensuring a smooth, professional finish. Many crafters struggle with wrinkles caused by shipping, rolling, or improper storage, and knowing the right methods prevents long-term damage.
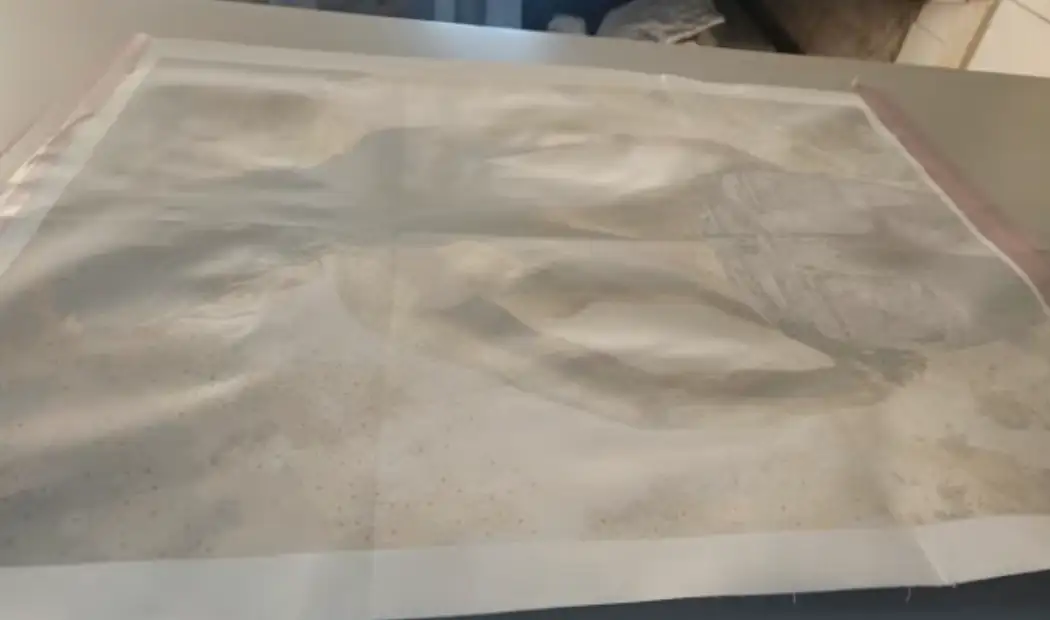
Unrolling Completely: The first step in flattening any canvas is to unroll it fully on a clean, flat surface. Lay the canvas with corners free and edges fully extended. This initial step helps the fabric relax naturally and allows you to identify stubborn wrinkles or curled edges. A completely unrolled canvas prevents accidental new folds while you work on more advanced flattening techniques. Unrolling ensures vibrant colors and patterns remain crisp.
Weight Application: Applying gentle, even weight is a safe and effective way to flatten minor wrinkles over time. Place flat objects such as books, boards, or trays on top of the canvas. Gentle pressure over several hours allows the fabric fibers and adhesive to settle, gradually relaxing the curl. This method works best for medium-sized wrinkles and helps maintain overall canvas flatness without risking glue damage. Weight application is particularly helpful for keeping reflective drills aligned and details sharp.
Reverse Rolling: Reverse rolling is a powerful method for deeper curls or stubborn edges. Roll the canvas slowly in the opposite direction of the curl. This technique resets the fabric memory without stretching or tearing the canvas. It is essential to perform this slowly and carefully, particularly for large or heavily drilled sections, to avoid cracking the adhesive. Reverse rolling is excellent for detailed features.
Mild Heat: In cases of persistent wrinkles, mild heat can soften fibers, making flattening easier. Use a warm cloth or a low-heat iron with a protective barrier. Direct high heat can melt the adhesive, misalign drills, and permanently damage the canvas. Mild heat works best when combined with weight or reverse rolling, gently relaxing fibers without compromising glue or canvas quality.
Hand Smoothing: After warming the canvas slightly, gentle hand smoothing can address localized deep creases. Use your fingers to press and smooth stubborn folds or edges carefully. This method is precise, allowing targeted flattening without disturbing surrounding areas. Hand smoothing is particularly useful for corners or small sections, maintaining sharpness and even drill placement.
Combination Approach: Often, the best results come from combining multiple methods. Weight, reverse rolling, mild heat, and hand smoothing together create long-lasting flatness without damaging adhesive or altering canvas dimensions. A combination approach ensures that every part of the canvas—corners, edges, and central sections—remains smooth, professional, and ready for flawless drill application. This guarantees that reflective drills and vibrant colors look exactly as intended, producing a polished, gallery-worthy finished piece.
Conclusion
Learning how to flatten diamond art canvas is more than a skill—it is an art. Every crease, curl, and wrinkle has a solution if approached with care, patience, and knowledge. Using weight, mild heat, reverse rolling, and careful handling ensures a smooth, ready-to-drill surface. Combining flattening with creative planning allows amazing pop pet art to shine.
Diamond painting becomes stress-free, fun, and visually stunning when your canvas lies perfectly flat. Whether you are a beginner or experienced crafter, mastering these techniques improves your workflow, protects your artwork, and turns every diamond painting project into a masterpiece. Also, Why don’t you check out the Art of Diamond painting!