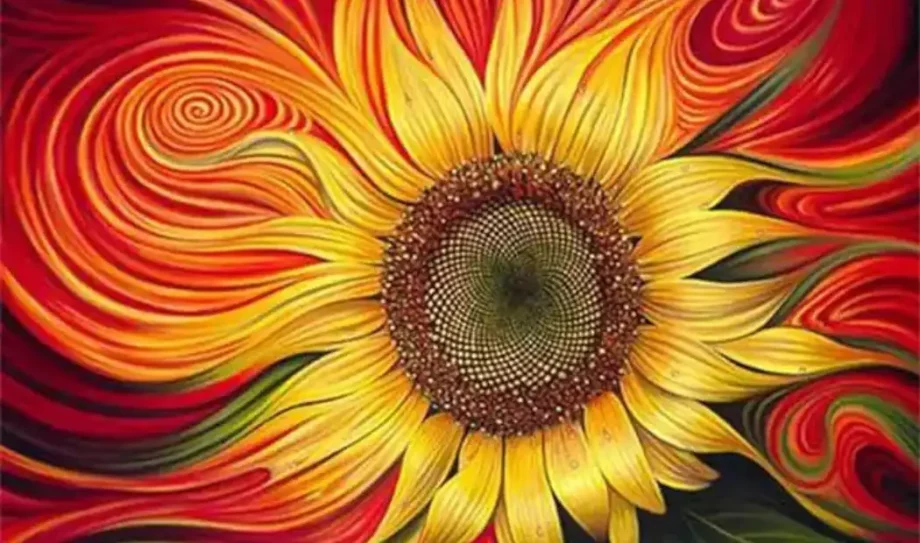
Leaves are nature’s art—tiny wonders of shape, color, and texture. Learning how to paint a leaf is your gateway to nature-inspired creativity. Whether you’re a beginner or a pro, you can craft soft, luminous watercolor leaves or bold, striking acrylic designs, from fresh summer greens to fiery autumn reds.
This guide reveals everything: how to draw a leaf, how to paint a fall leaf, and tips for realistic textures, shading, and color. With seasonal inspiration, modern techniques, and practical tricks, you’ll gain the confidence to create stunning leaf art ready to frame, share, or simply admire. Your journey to mastering leaf painting starts now.
Why Leaf Art Is Popular?

Leaf art is everywhere online. People love natural art because it is relaxing and visually appealing. The organic shapes of leaves create balance in art. The mix of color gradients makes leaves versatile subjects for painting.
Leaf art works for multiple purposes:
- Wall art for homes or offices
- Greeting cards or journals
- DIY crafts and gift designs
- Social media content for art pages
Leaves can be simple or complex. You can create minimalist designs or hyper-realistic pieces. The small size of a leaf also allows you to practice without feeling overwhelmed. It is an ideal project for beginners, intermediate artists, and even professionals exploring textures and layers.
Tools You Need for Leaf Painting
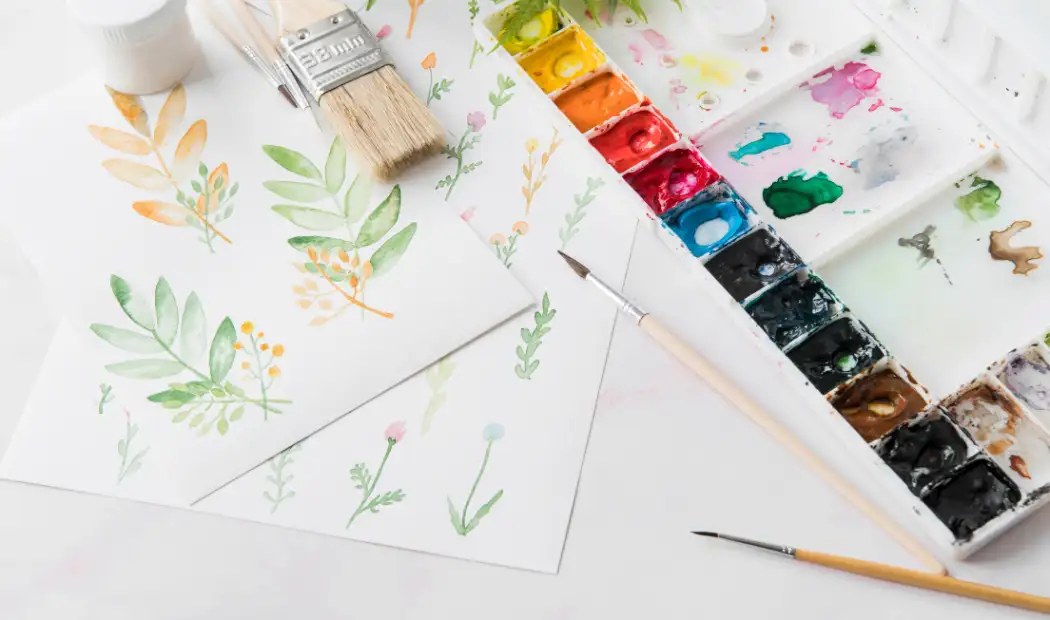
Having the right tools makes your work easier and more professional. Here’s a detailed list of essentials for both watercolor and acrylic painting.
Paper and Canvas
- Watercolor paper: 300 GSM cold press gives natural texture.
- Acrylic canvas panel: Provides sturdy support for thick paint.
- Mixed media sketchbook: Good for practice or small leaf designs.
Brushes
- Round brushes: Ideal for edges and blending.
- Flat brushes: Great for base layers.
- Liner brush: Perfect for veins and tiny details.
- Fan brush: Creates soft textures and gradient effects.
Paints
- Watercolor sets: Transparent, soft, and blendable.
- Acrylic paints: Bold, vibrant, and quick-drying.
- Optional gouache: Matte and dense for special effects.
Other Tools
- Palette and water jars: Keep colors clean and organized.
- Masking tape or fluid: Protect highlights and preserve white areas.
- Tissues and sponges: For lifting color or creating textures.
- Pencil and eraser: For initial sketches.
Understanding Leaf Shapes
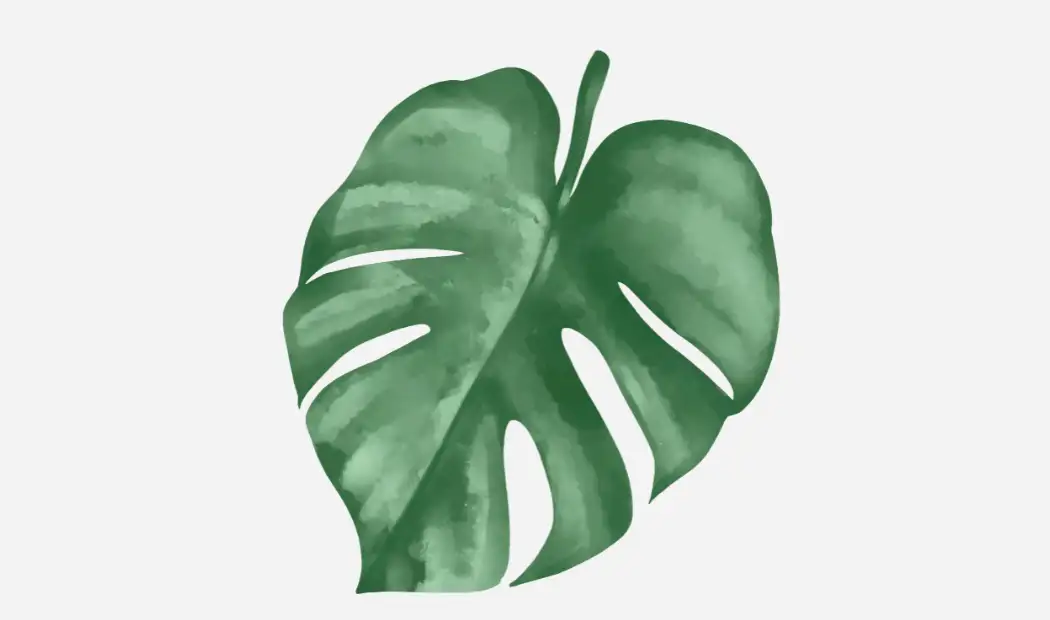
A leaf’s shape defines the overall composition of your painting. Leaves come in many varieties:
- Oval
- Heart-shaped
- Maple-shaped
- Palm-shaped
- Elliptical
Leaf Anatomy
- Midrib: The central line from stem to tip.
- Veins: Branch from the midrib to edges.
- Edge: Can be smooth, jagged, or serrated.
- Petiole: The stalk connecting leaf to stem.
- Texture: Small bumps, holes, or decay spots add realism.
Leaf Painting Methods
| Method | Medium | Difficulty | Best Use |
|---|---|---|---|
| Watercolor | Paper | Easy | Soft natural leaves |
| Acrylic | Canvas | Medium | Bold textured leaves |
| Marker | Paper | Easy | Quick sketches and doodles |
| Gouache | Paper | Medium | Matte and opaque effects |
| Digital | Tablet | Medium | Social media art |
How to Draw a Leaf?
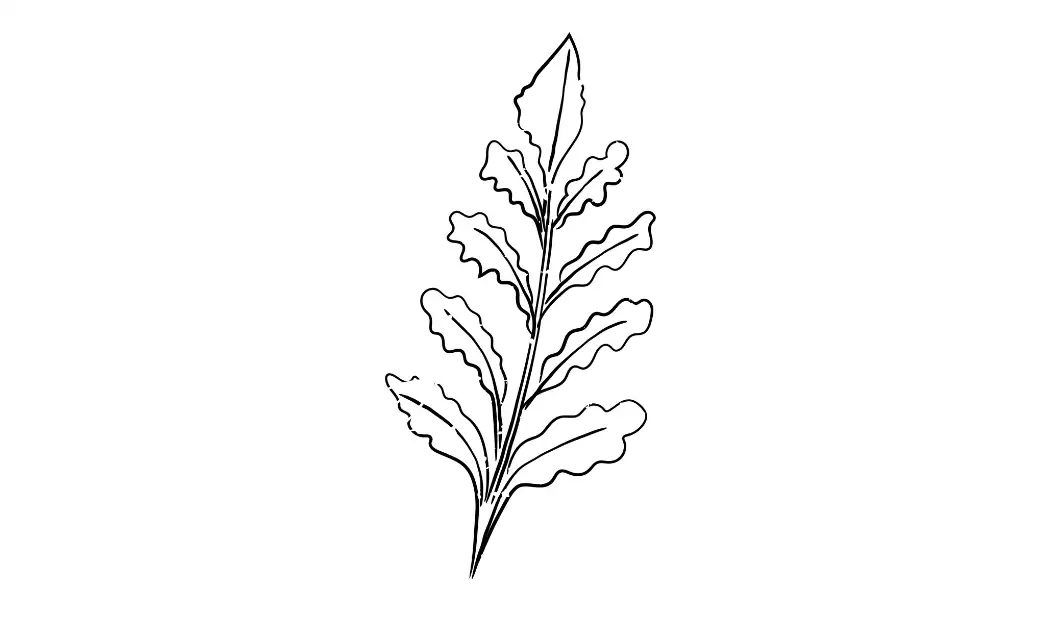
Drawing a leaf is the first step before painting. A well-drawn leaf helps your painting look clean and realistic. You can start simple and then add complexity depending on the type of leaf. Observing real leaves helps you understand their natural shapes, edges, and vein patterns.
Steps to Draw a Basic Leaf
- Draw a light midrib line from the stem to the tip.
- Sketch the overall shape of the leaf. Keep the outline smooth for simple leaves.
- Add veins branching from the midrib to the edges. Vary the size and angle for a natural look.
- Draw small curves or serrations along the edges for realism.
- Lightly shade the center or base of the leaf to suggest depth.
- Add tiny holes or notches if you want a more natural look.
Steps to Draw a Fall Leaf
Fall leaves are more dramatic. They show jagged edges, curled tips, and irregular shapes. Follow these steps for fall leaf drawing:
- Draw the main outline, using jagged or uneven edges.
- Add curled tips, slight tears, or irregular breaks along the edges.
- Sketch central veins and secondary veins branching toward the edges.
- Include small holes, decay spots, or cracks for realism.
- Vary the thickness of your lines to suggest depth and texture.
- Add light shading to emphasize curls or folds in the leaf.
Tips for Both Styles
- Use soft pencils to allow corrections.
- Observe real leaves for reference.
- Short, controlled strokes give more natural lines.
- Start light and build layers slowly.
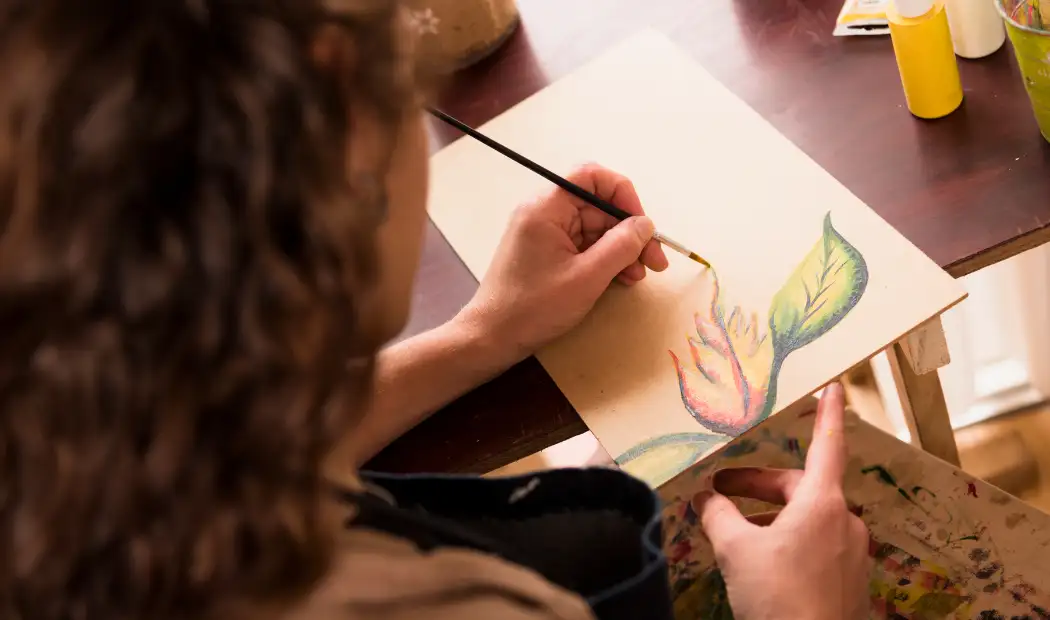
Step-by-Step Leaf Painting: Watercolor and Acrylic Techniques
Creating a stunning leaf painting requires planning, layering, and understanding the medium. Whether you are working with watercolor leaf painting, fall leaf watercolor painting, or acrylic paint, following step-by-step methods ensures your leaves look vibrant, realistic, and full of depth.
1. Preparing Your Leaf Painting
Before applying paint, preparation is essential:
- Sketch the leaf lightly on paper or canvas. Use simple shapes for basic leaves or jagged edges for fall leaves.
- Choose your color palette. Decide whether you want fresh green leaves, bold fall tones, or experimental colors.
- Tape your paper if using watercolor to prevent warping. Canvas does not need tape, but ensure it is primed if required.
2. Base Layer
The base layer establishes the main color and tone of the leaf:
- Watercolor: Apply a light wash, such as pale yellow or soft green, over the leaf area. Keep the color transparent for natural gradients.
- Acrylic: Block in a midtone color, like medium green for summer leaves or golden yellow for fall leaves. Acrylic paint is opaque, so apply evenly with a flat brush.
3. Adding Shadows and Midtones
Layering midtones and shadows creates depth and realism:
- Watercolor: Drop in darker tones near the midrib, edges, or areas of overlap. Tilt the paper slightly to allow natural blending of colors. Use wet-on-wet for soft transitions or wet-on-dry for sharper edges.
- Acrylic: Mix darker shades of green, brown, or orange and paint along the veins, base edges, or curling tips. Blend gently with a soft brush for a smooth transition.
4. Highlights and Veins
Adding highlights and veins brings your leaf to life:
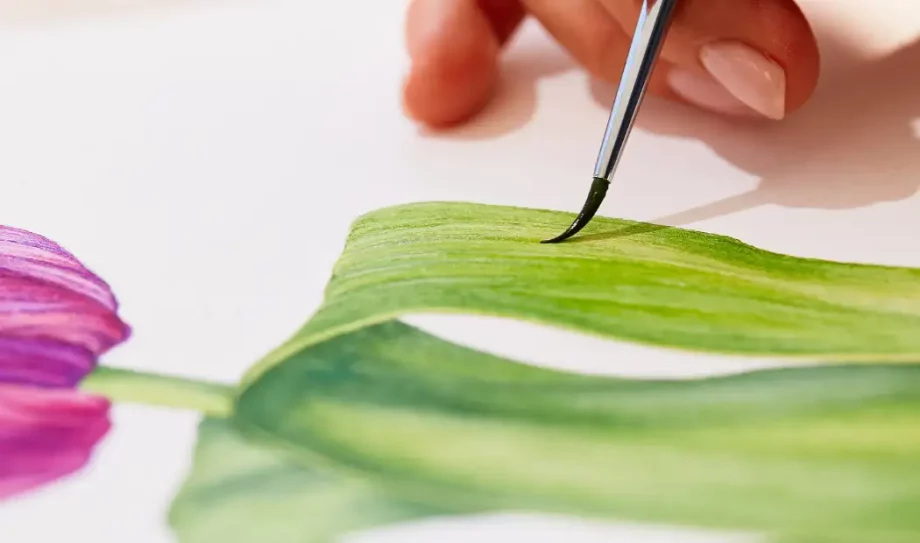
- Watercolor: Once the main wash is dry, use a thin liner brush to add veins. Lift small areas of color with a damp brush for natural highlights. Dry brush techniques can add subtle texture.
- Acrylic: Highlight veins and edges using lighter shades like pale green, yellow, or white. Use a liner or fine brush to create sharp veins and tiny cracks for realism.
5. Textures and Details
Texture is key for realistic or stylized leaf painting:
- Watercolor: Sprinkle salt on wet areas for grainy textures. Lift paint with tissue to create highlights. Add fine details using a dry brush for veins or small spots.
- Acrylic: Use palette knives, stippling brushes, or dry brush techniques to create raised veins, spots, and rough edges. Add tiny holes, curls, or tears for authenticity.
Color Theory for Leaf Art
Choosing the right colors brings your leaf paintings to life. Leaf color depends on season, lighting, and style.
Green Shades for Summer Leaves
- Light green for young or fresh leaves
- Sap green for standard, natural leaves
- Olive green for muted, earthy tones
- Dark green for shadows and depth
Fall Shades for Autumn Leaves
- Yellow for a glowing base
- Orange for midtones
- Red for edges or highlights
- Brown for decay spots or texture
Tips for Mixing Colors
- Mix gradually to create natural transitions
- Test combinations on a palette before painting
- Combine warm and cool tones for realistic depth
- Use subtle variation in shade for added interest
- Add abstract leaves painting to this list and see what more world of leaf art has to offer through color.
What are the common mistakes to avoid?
Here are the mistakes that are to be avoided:
- Overmixing colors, creating mud
- Outlines too dark, looks unnatural
- Flat color with no texture
- Ignoring light and shadow
- No color variation in fall leaves
Summing Up!
Leaf painting is a quiet celebration of nature and creativity. Each brushstroke captures movement, light, and life, turning a simple leaf into a small masterpiece. From vibrant summer greens to fiery autumn hues, every leaf offers a new adventure in color and texture. This guide has given you the tools, techniques, and inspiration to bring leaves to life—drawing, shading, blending, and exploring textures. Now it’s your turn to experiment, take risks, and make every leaf uniquely yours. With each painting, you’re not just creating art—you’re discovering your style and expressing your vision.
Also, Why don’t you check out the Art of Diamond painting!