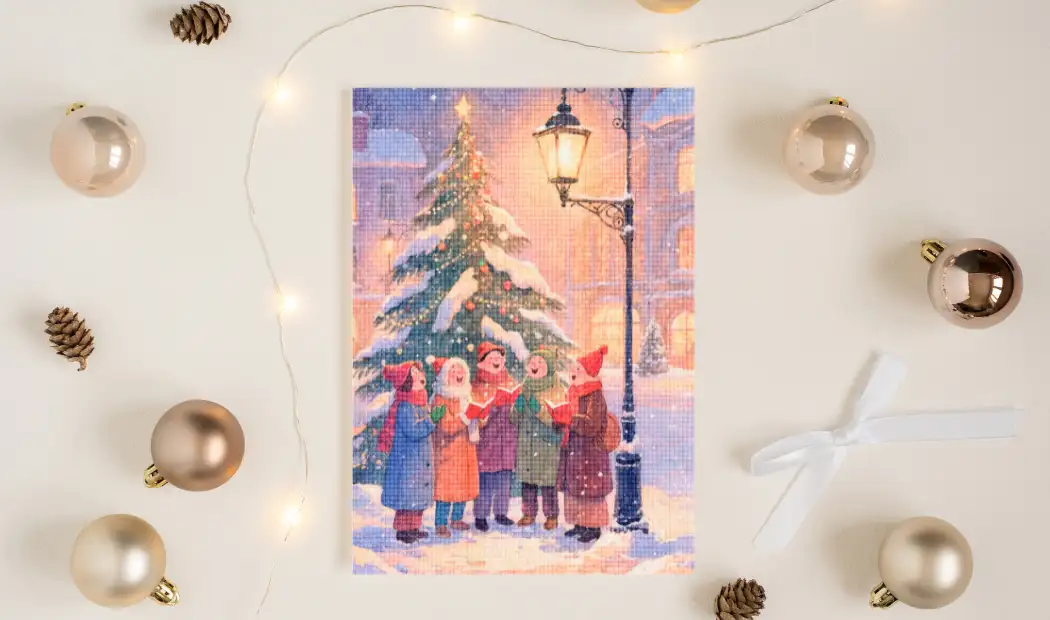
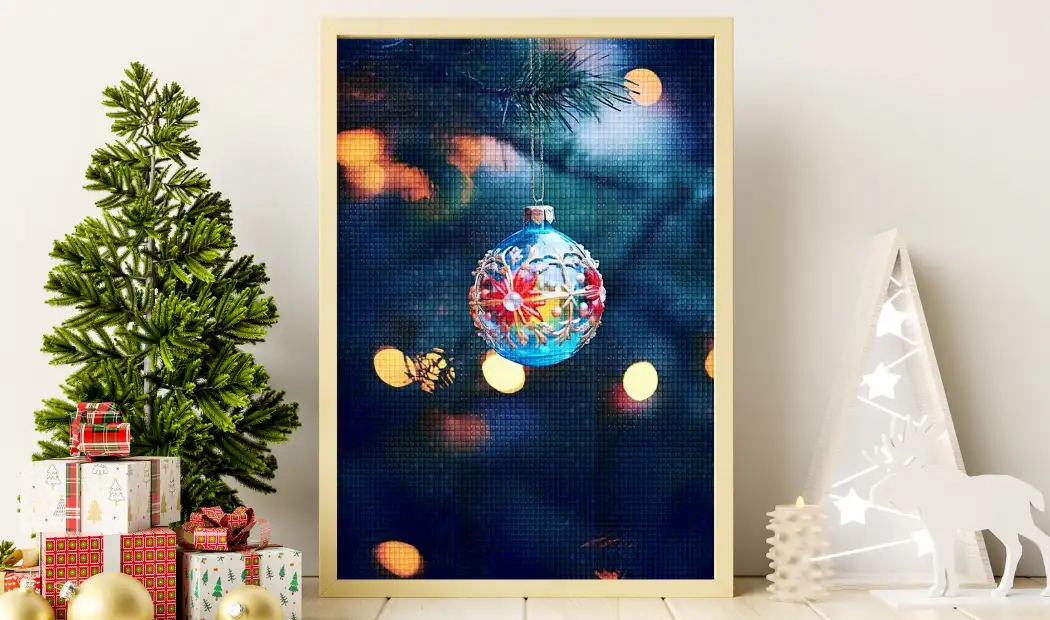
Christmas lights diamond painting kits are the best way to capture the festive spirit of the season, which is full of sparkle, coziness, and imaginative enchantment. Using tiny diamonds, vibrant hues, and entertaining festive motifs, these kits let you transform basic designs into radiant works of art. This tutorial will teach you how to paint Christmas lights diamond painting kits using easy methods, original ideas, and expert techniques. With the aid of this guide, you will be able to produce artwork that is more radiant than your Christmas tree. Let’s explore clever techniques, plunge into the world of Christmas diamond painting, and turn your holiday into works of art.
Why Christmas Light Paintings Matter?
Christmas light paintings are more than simple holiday decorations—they are warm reminders of cozy nights, soft sweaters, glowing bulbs, and nostalgic winter memories. When you use Christmas lights diamond painting kits, these feelings become even stronger. Each tiny diamond adds a shimmering highlight that makes every bulb look bright, magical, and full of life.
Christmas diamond painting kits help you slow down, relax, and enjoy peaceful holiday moments. They bring creativity, reflection, and joy during the busiest time of the year. And when you mix paint for Christmas lights with sparkling gems, you create artwork that feels glowing, festive, and truly heartfelt. These projects turn your love for Christmas lights into meaningful art that shines long after the season ends.
Ideas – How to paint Christmas Light Diamond Painting?
Here are some creative, easy, and beginner-friendly ways to start your Christmas lights painting or upgrade your diamond art Christmas kits. These ideas work beautifully for painters as well as diamond painters using Christmas lights diamond painting kits.
1. Follow the Classic Multicolor Bulb Look
The traditional multicolor Christmas bulb style is timeless. Paint or highlight each bulb in reds, greens, blues, yellows, and warm whites. Keep the bulb shapes simple and let the diamonds add the sparkle. This nostalgic palette works perfectly for Christmas diamond art kits because these classic colors instantly create that warm holiday feeling. For extra glow, add a soft, lighter halo around each bulb to make the colors pop on the canvas.
2. Create a Snowy Glow Effect
If you want your artwork to look like glowing bulbs on a snowy winter night, try this beautifully easy technique. Paint a thin layer of white, pale blue, or icy pastel under each bulb before placing your diamonds. This creates a frosted glow that looks natural and bright. When you add diamonds from your diamond dotz Christmas kits, the bulbs shine even more. To enhance the effect, blend soft grey or blue in the background to mimic falling snow.
3. Try Gradient Glow Lights
Gradient lighting adds realism and depth to any Christmas light painting. Start with a lighter shade in the center of the bulb and slowly blend outward into a darker color. Then place your diamonds over the gradient. This makes each bulb look like it’s glowing from within. It’s a beautiful technique for artists who want their Christmas lights diamond painting kits to look more advanced, polished, and three-dimensional.
4. Icicle Light Art
For a cool-toned winter theme, try creating icicle-inspired Christmas lights. Use silver, icy blue, pearl white, and lavender to make frozen, shimmering bulbs. This elegant look pairs perfectly with diamonds found in Christmas diamond dotz kits for adults. Add thin grey or silver lines to create icy reflections and give each bulb a frosted, dreamy touch to give it a winter christmas painting look.
5. Warm Fireplace Lights
If you love cozy Christmas decor, warm fireplace-style lights are perfect. Use amber, orange, golden yellow, cinnamon red, and caramel tones under your diamonds. These colors make the bulbs look like they’re glowing beside a fireplace or in a rustic cabin. When diamonds are placed over these warm shades, they naturally appear lit. This style works especially well for vintage themes and traditional Christmas diamond painting kits.
6. Cartoon-Style Lights
For a fun, playful Christmas look, go for a cartoon-inspired design. Use bold black outlines, bright solid colors, and smooth rounded shapes to give your bulbs an animated, cheerful look. This beginner-friendly style is perfect for anyone because the simple shapes make diamond placement easy. Add small white “shine dots” to make each bulb look glossy and cute.
In How Many Ways Can You Paint Christmas Light Paintings?

One of the best things about Christmas lights diamond painting kits is the endless creative possibilities. Here are the most popular techniques, explained in detail:
-
Realistic Style
For a lifelike, glowing effect, focus on soft blending, realistic highlights, and smooth color gradients.
- Use a light-to-dark gradient under each bulb to mimic real light.
- Add subtle halos or soft white glows around diamonds.
- Best for intermediate to advanced artists who want their Christmas diamond art to look sophisticated and realistic.
-
Minimalist Style
The minimalist approach is perfect for modern holiday decor or small spaces.
- Use simple shapes, muted pastel bulbs, and clean backgrounds.
- Focus on balance and simplicity rather than intricate details.
-
Vintage Retro Style
This nostalgic style brings back old-fashioned Christmas vibes.
- Use deep reds, golden yellows, olive greens, and muted blues.
- Slightly irregular bulb shapes can mimic vintage glass lights.
- Ideal for classic home decor or diamond art Christmas kits that match traditional holiday colors.
-
Watercolor Style
Soft washes of color create dreamy, glowing lights.
- Dilute your paint to produce a soft, ethereal background.
- Place diamonds on top of blended colors to create sparkling highlights.
- Works beautifully for Christmas diamond painting and adds a whimsical, magical effect.
-
Mixed-Media Style
For a bold, layered look, combine paint, glitter, metallic pens, and diamonds.
- Start with a painted gradient or glow.
- Layer diamonds strategically for texture and sparkle.
- Add metallic pens or glitter accents to highlight bulb edges.
-
Glitter-Paint Style
If you love sparkle, the glitter-paint style is perfect.
- Apply subtle glitter paint in areas where diamonds won’t go.
- Keep the glitter balanced so it enhances rather than overwhelms your bulbs.
-
Abstract Style
For modern and artistic interpretations, abstract Christmas lights break traditional rules.
- Use bold brush strokes, overlapping bulbs, and exaggerated colors.
- Experiment with neon or metallic diamond colors for a contemporary twist.
-
Layered Nighttime Glow
For a dramatic effect, try painting a night sky background first.
- Add subtle shadows and glows under each bulb to simulate light reflection.
- Place diamonds carefully so they mimic twinkling lights in the night.
-
Festive Patterned Lights
Arrange bulbs in fun patterns—zigzags, spirals, or loops.
- Combine different bulb sizes for visual interest.
- Use alternating color schemes to create rhythmic festive designs.
Pros and Cons of Christmas Light Diamond painting
Pros:
- Deeper 3D Effect
Combining painted backgrounds with sparkling diamonds enhances depth and dimension. The contrast between smooth painted glows and raised diamond drills makes each bulb appear more lifelike, giving your Christmas diamond art kits that professional, polished look. - Unique Personal Touch
Even if someone else uses the same Christmas diamond painting kits, painting allows you to personalize your piece. You can choose your color gradients, glow intensity, or background style, making each artwork entirely one-of-a-kind. - Helps Fix Color Gaps
Sometimes canvas colors can appear dull, or certain areas may need more vibrancy. Painting underneath or around your diamonds can correct these gaps, intensify contrast, and ensure that every bulb shines exactly as you envisioned. - Stronger Visual Impact
Painted glow under diamonds enhances brightness, smoothness, and festive appeal. Your bulbs can appear illuminated even without extra lighting, creating artwork that pops and feels alive, making your Christmas lights painting the centerpiece of any room or holiday display.
Cons:
- Extra Time Required
Adding paint means extra steps: layering, drying, and then diamond placement. Depending on the complexity of your design, this may extend your crafting time. However, the payoff is a more professional and glowing final piece. - Risk of Mistakes
Painting too close to the diamond areas can reduce the stickiness of drills or create smudges. Beginners should practice blending and layering on scrap sections or test canvases before painting directly on diamond art Christmas kits. - Requires Practice
Achieving smooth gradients, realistic glow, or layered effects may take practice. Beginners may need multiple tries to perfect techniques such as halo blending, gradient lighting, or subtle shading, but the learning curve is worth the stunning results.
CONCLUSION
With Christmas lights diamond painting kits, creating dazzling holiday art has never been simpler or more enjoyable. These projects allow you to combine Christmas light painting for results that feel magical, regardless of your preference for strong dazzle, gentle glow effects, or straightforward festive patterns. You can turn any design into a glittering masterpiece that glows throughout the season by using the appropriate paint for Christmas lights, selecting imaginative layouts, and employing the methods in this guide.
Looking for awesome paint by number kits? Why don’t you visit Art of Paint by Number?
-
$19 – $65
Cute gnome wearing red hat
-
$19 – $65
Painting of a christmas tree
-
$19 – $65
Christmas snow globe with elf illustration